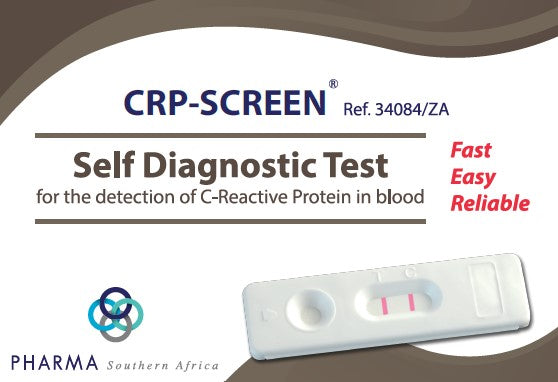
PRODUCT DESCRIPTION
The C-Reactive Protein (CRP) is a non-specific marker which is mainly produced by the liver and used to diagnose bacterial infectious disease and inflammatory disorders.
The CRP is a very sensitive and fast appearing indicator which could therefore be helpful for deciding an antibiotic treatment.
Depending on the CRP concentration, different lines will appear allowing the semi quantitative interpretation of the test result.
In healthy patients, CRP concentration is lower than 8mg/L while the concentration level can go higher than 100mg/L in case of severe infection or during inflammatory process. Intermediate levels, within 8 and 100mg/L, are concomitant with more or less mildly viral or bacterial infections that can be easily overcome by appropriate treatment ordered by your doctor.
WHEN SHOULD THE TEST BE PERFORMED?
CRP-SCREEN® should be performed in the case of acute infection symptoms such as feverishness, fever, headaches or weakness. The test can be performed at any time of the day.
WHAT DO I HAVE TO DO IF THE RESULT IS POSITIVE?
If the result is positive when the CRP is higher than 8mg/L, please refer to the result interpretation and inform your doctor as soon as possible as an antibiotic treatment might be urgently needed.
INCLUDED IN KIT
A sealed aluminum pouch containing:
- 1 test device, 1 plastic capillary pipette and 1 desiccant bag
- 1 sterile lancet for blood sampling
- 1 diluent dropper vial of 3 mL of diluent
- 1 instruction leaflet
- 1 alcohol swab
HOW TO USE
Testing procedure always starts with a good preparation. Place the content of the box on a clean, dry and flat surface (e.g. table). Then the testing follows:
- Wash your hands thoroughly. Use soap and warm water. Dry your hand with clean towel.
- Prepare the test device, the pipette and the diluent dropper vial. Take them out from the protective pouch (tear at the notch) and place them in the reach of your hands (you will need them later). Discard the desiccant bag. Remove the screw cap of the diluent dropper vial and leave it nearby.
- Prepare the lancet. Hold the lancet without touching the trigger button. Unlock the lancet cap twisting it off 1⁄4 turn until you feel it separates from the lancet and then continue twisting it (2-3 rotations). Don’t pull just twist and discard the cap when finished.
- Clean the end of the middle finger or ring finger with the alcohol swab. Rub the chosen finger towards the tip for 10 to 15 seconds to enhance the blood flow.
- Press platform firmly against the lateral side of the previously cleaned finger, and press the release trigger button.
- The tip will automatically retract into the body of the device.
- Rub the finger’s end to obtain enough whole blood sample.
- Without pressing the bulb, put in contact the plastic pipette with the blood sample. The whole blood migrates into the pipette through capillarity to the line indicated on the pipette. You may rub again your finger to obtain more blood sample if the line is not reached. As far as possible, avoid air bubbles.
- Place the collected whole blood sample into the previously opened diluent dropper vial by pressing the bulb of the pipette. Make sure that the complete volume of whole blood sample is added into the diluent dropper vial by pressing 2-3 times the bulb of the pipette and therefore rinsing the inner part of the pipette with diluent solution. Replace the screw cap on the diluent dropper vial and mix thoroughly.
- Break the tip of the dropper bottle containing the diluted whole blood sample. Hold it vertically and slowly add exactly 4 drops in the sample well of the device with an interval of 2-3 seconds between each drop.
- Read the result after 5 minutes. Do not interpret after 10 minutes.
Click here to view the patient information leaflet.


